Book a consultaion
Fill out the form and our administrator will contact you to schedule a visit.
Thank you! Your request has been received. We will contact you shortly.
Oops! Something went wrong. Please try again.

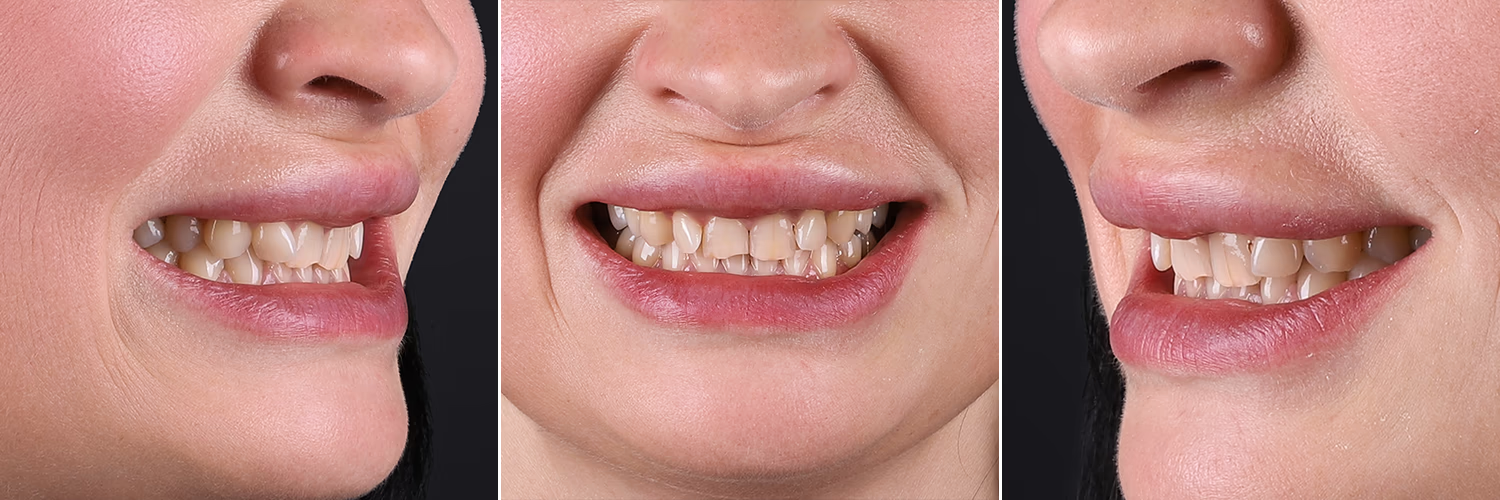
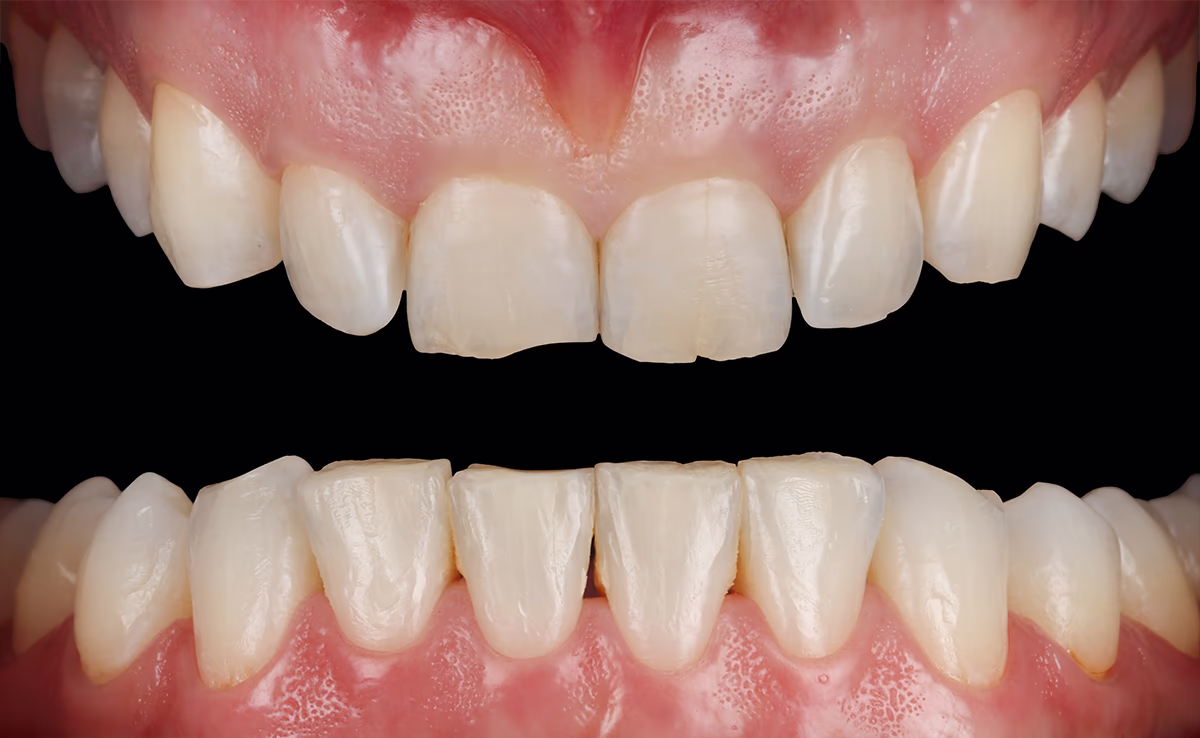
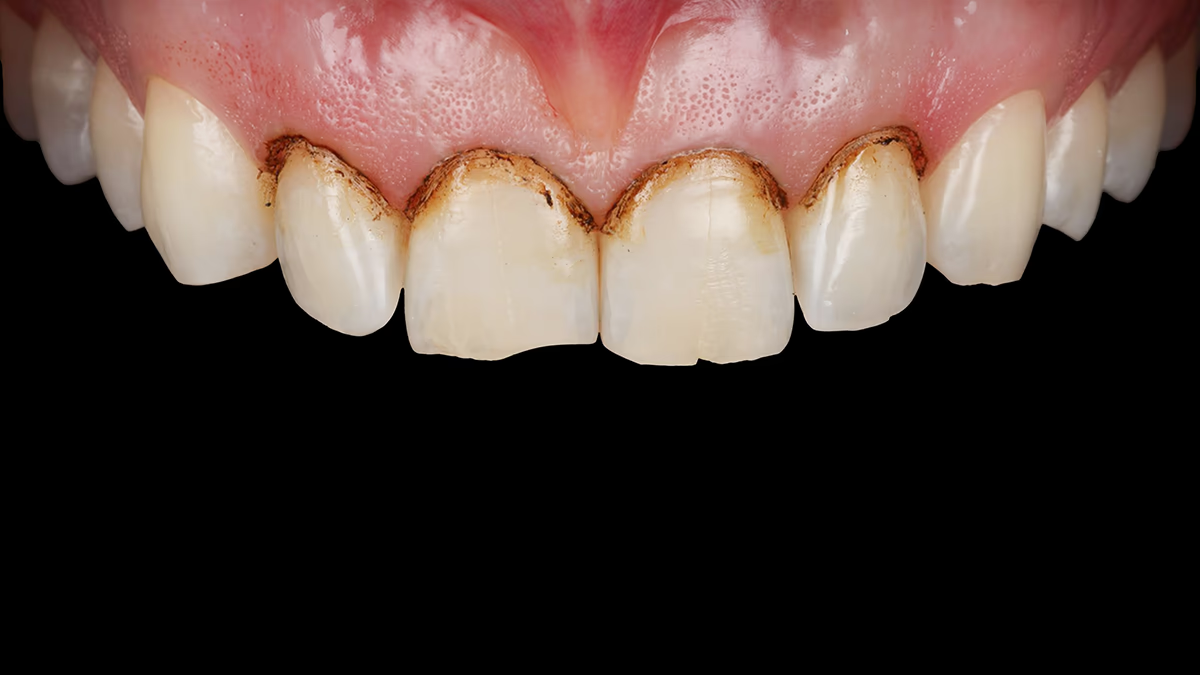
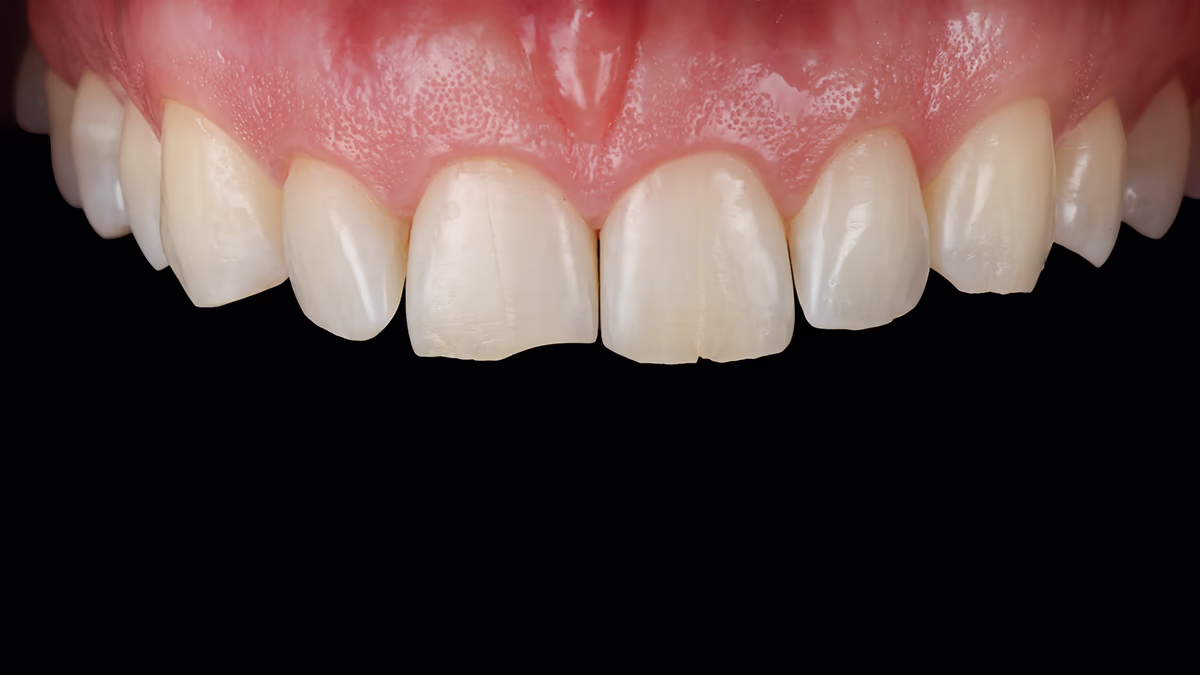
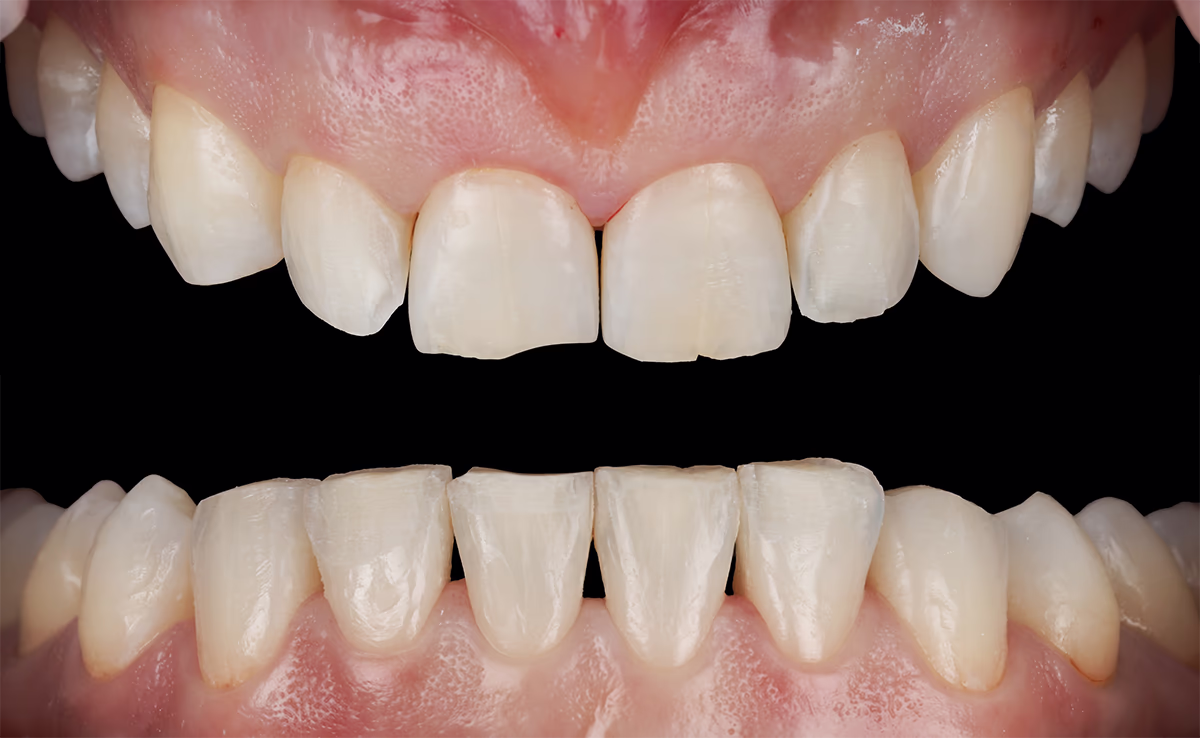
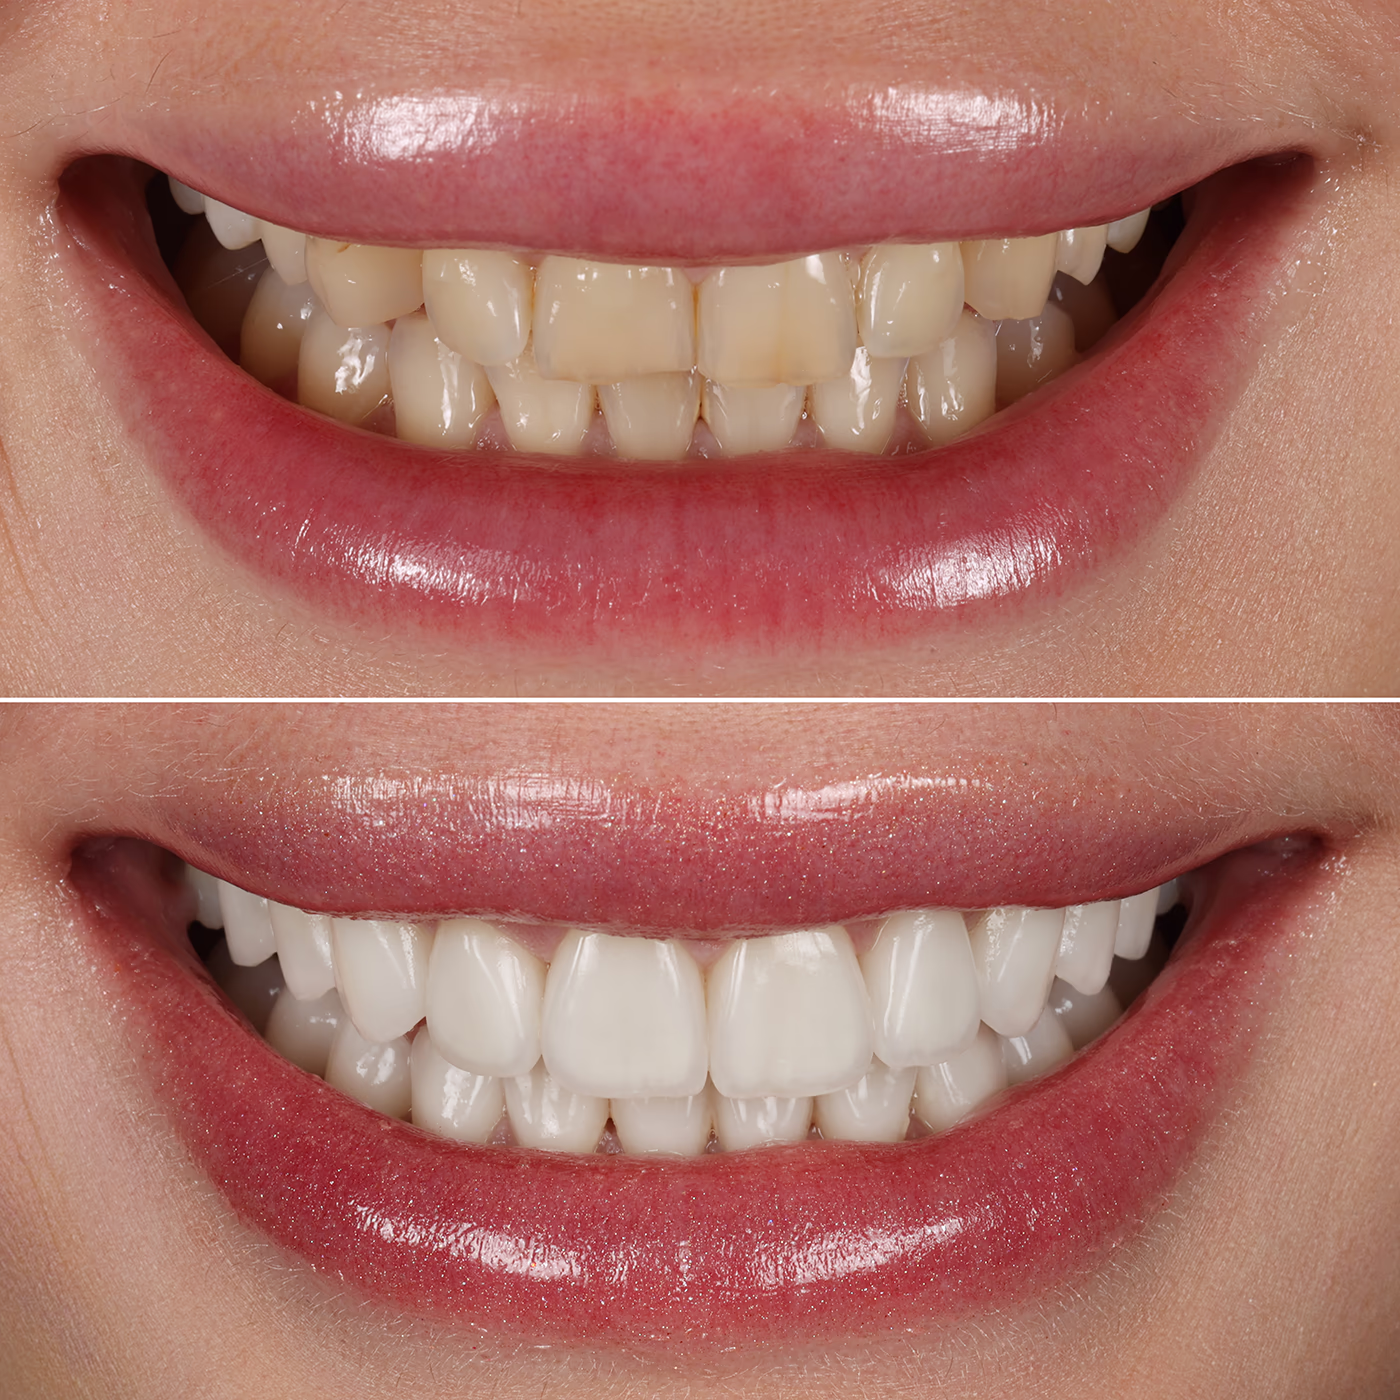
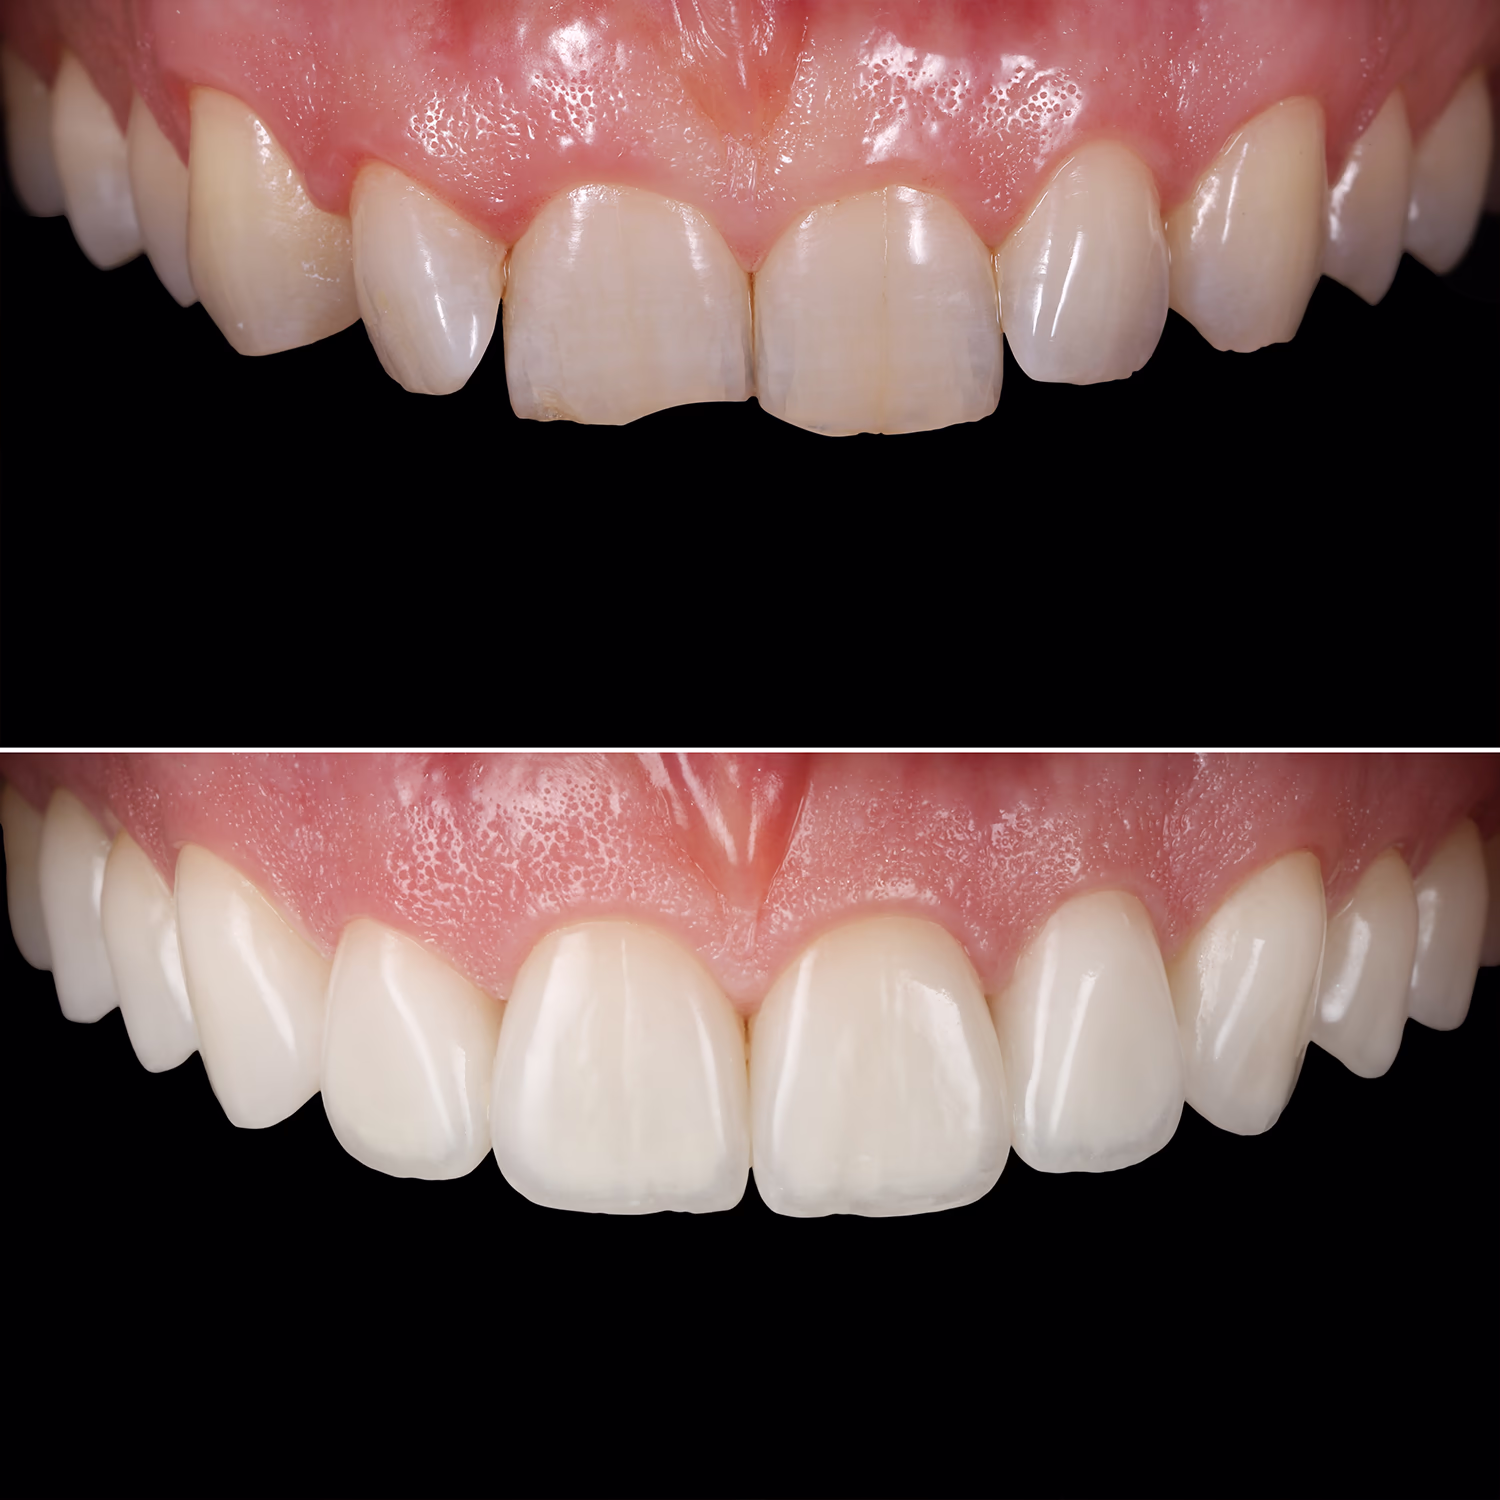
Medical History. Patient A., 38 years old, presented to the clinic requesting improvement of the appearance of maxillary and mandibular teeth.
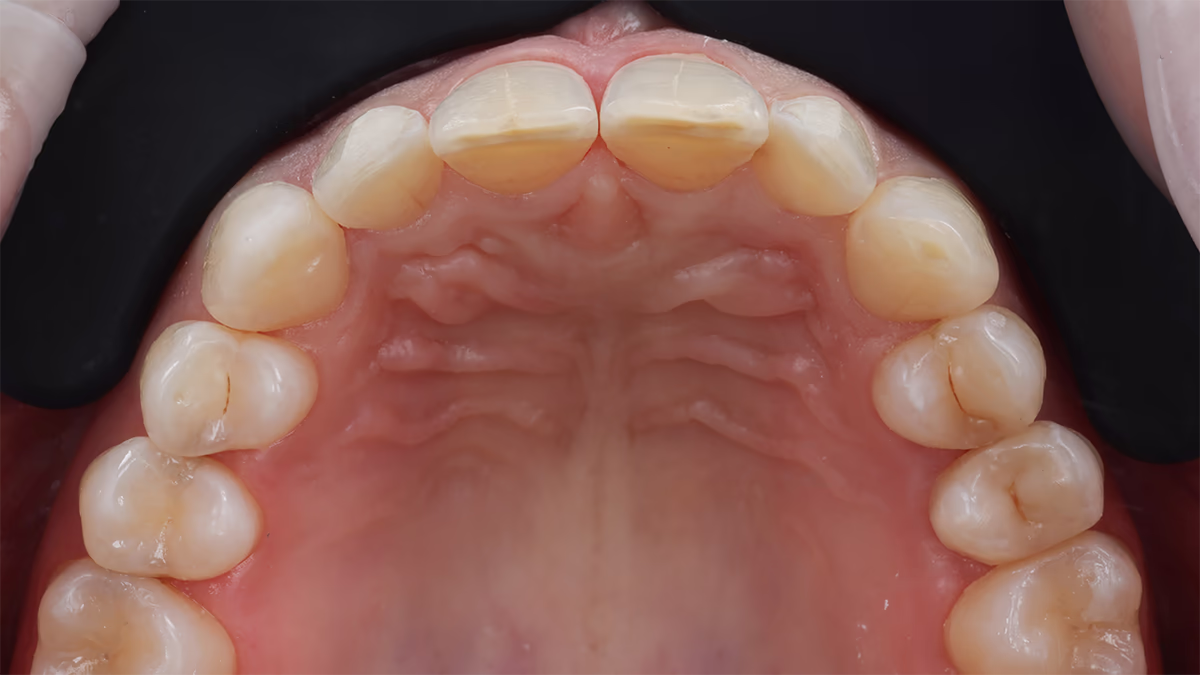
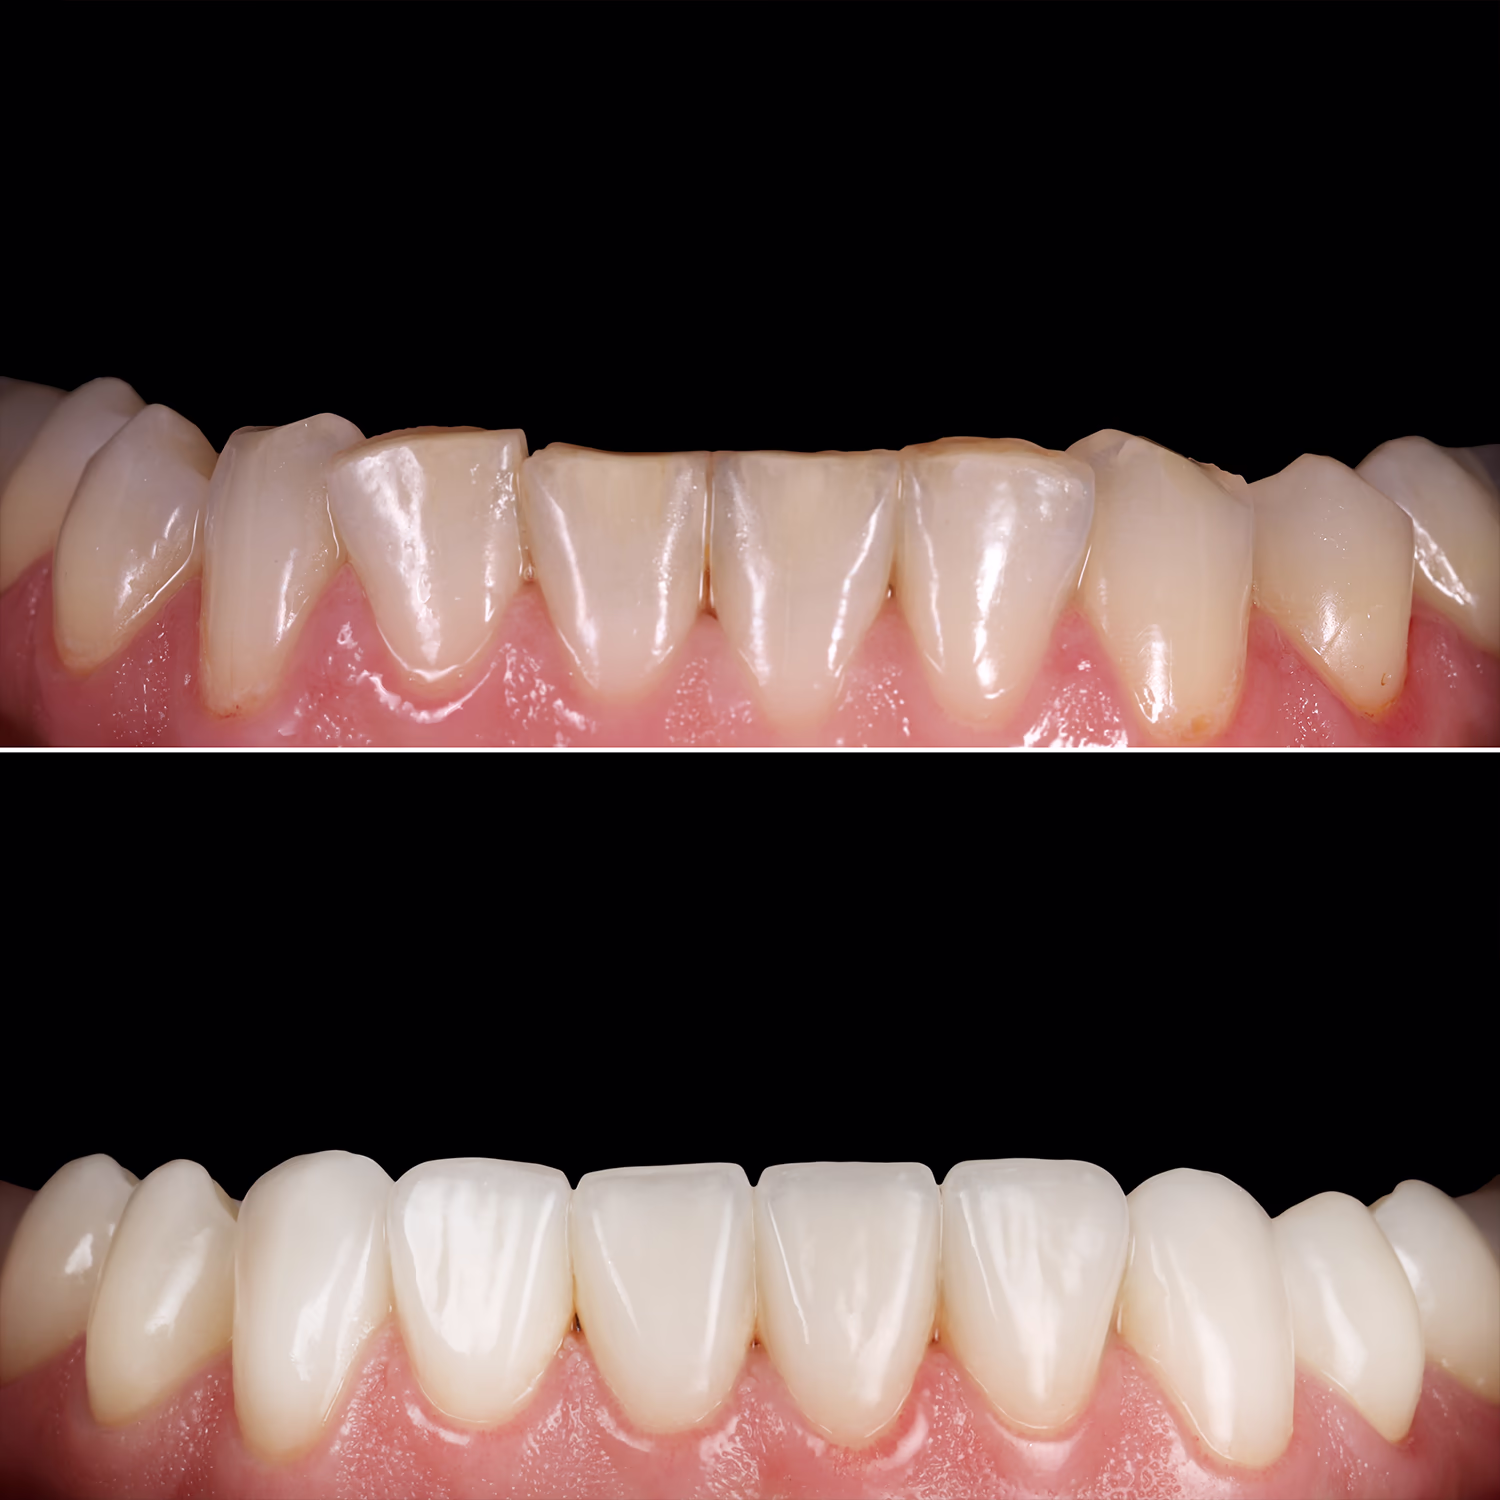
Objective Examination. Discrepancy of incisal edges of anterior maxillary and mandibular teeth.Dental crowding. Maxillary midline deviation to the left by 0.5 mm .Rotation of tooth 12. Retroclination (negative torque) of teeth 11 and 21. Mandibular anterior teeth overbite of 2/3.
As a result of tooth wear, there are disturbances during lateral mandibular movements:
– During right laterotrusion – group function, as well as anterior tooth contacts
–During left laterotrusion – anterior tooth contacts
– Disturbances are also present during protrusive movements.
On maxillary and mandibular molars and premolars – old Class I and II composite restorations.
Options for Restoring Dental Structure Integrity:
1.Composite restorations (direct method)
2.Ceramic restorations (indirect method).
It would be necessary to prepare teeth in 360° for full crowns to normalize occlusion and esthetics, therefore, loss of hard dental tissues would be substantial.

This clinical case requires orthodontic treatment before esthetic rehabilitation.
Orthodontic Treatment Options:
After the diagnostic stage, due to high aesthetic requirements, aligner treatment was selected. Treatment duration – 18 months.
After orthodontic treatment completion, fixed retainers were placed on maxillary and mandibular teeth.
On molars and premolars, replacement of old Class I and II composite restorations was required.
The final treatment stage planned was esthetic rehabilitation using ceramic veneers: 10 veneers on maxillary teeth and 10 veneers on mandibular teeth.
After photo-video analysis of the patient's face and smile, the following was determined:
Based on this data, the dental laboratory fabricated a Wax-Up (wax reproduction of future teeth).
When planning the future smile prototype, attention was paid to the need for zenith correction to maintain tooth proportions. The dental laboratory immediately fabricated a soft tissue correction template in the area of teeth 11, 12, 21, and 22.
The zeniths in this template replicated the new design of future teeth. Soft tissue correction was performed within 1–1.5 mm using a plasma knife without flap elevation and osteotomy.

After zenith correction on teeth 11, 12, 21, 22, time is required for soft tissue stabilization and new biologic width formation.
After 4 weeks, we proceeded to the next stage: using A-silicone, we duplicated the Wax-Up from printed models, creating a silicone key for transferring data to maxillary and mandibular dental arches.
Due to the minor rotation of teeth 12 and 22, as well as the position of teeth 41, 42, and 32, it was not possible to correctly install the silicone key in the oral cavity without deformation. Before transferring the Mock-Up, preliminary selective grinding of teeth 12, 22, 41, 42, 32 within enamel limits is required. Under infiltration anesthesia, guided by the design, free selective grinding was performed.
Next, using self-curing bis-acryl plastic and a silicone key, we transferred the mock-up of future teeth (Mock-Up) to the maxillary and mandibular dental arches.

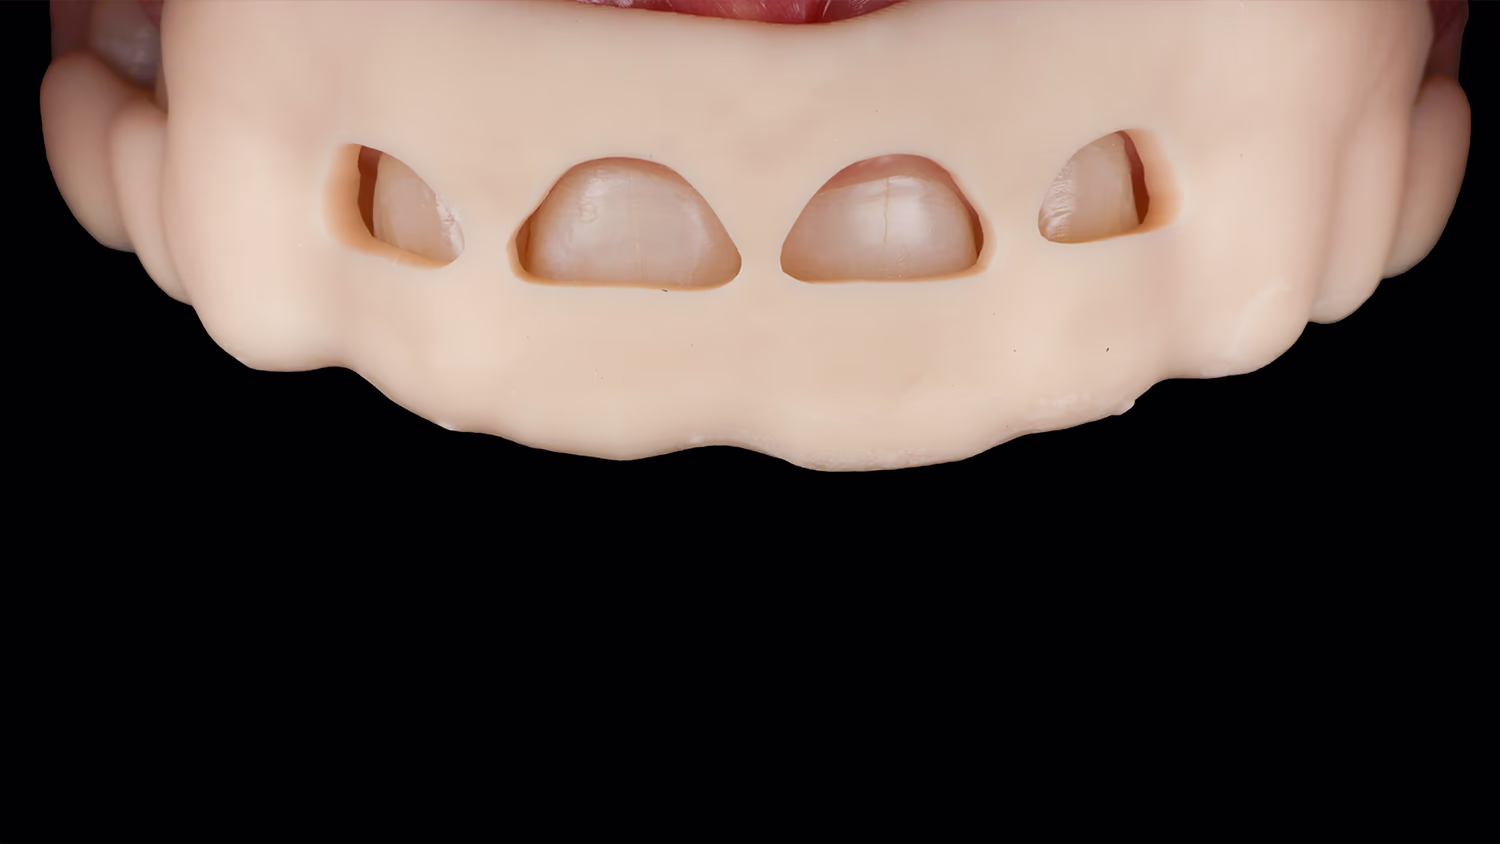
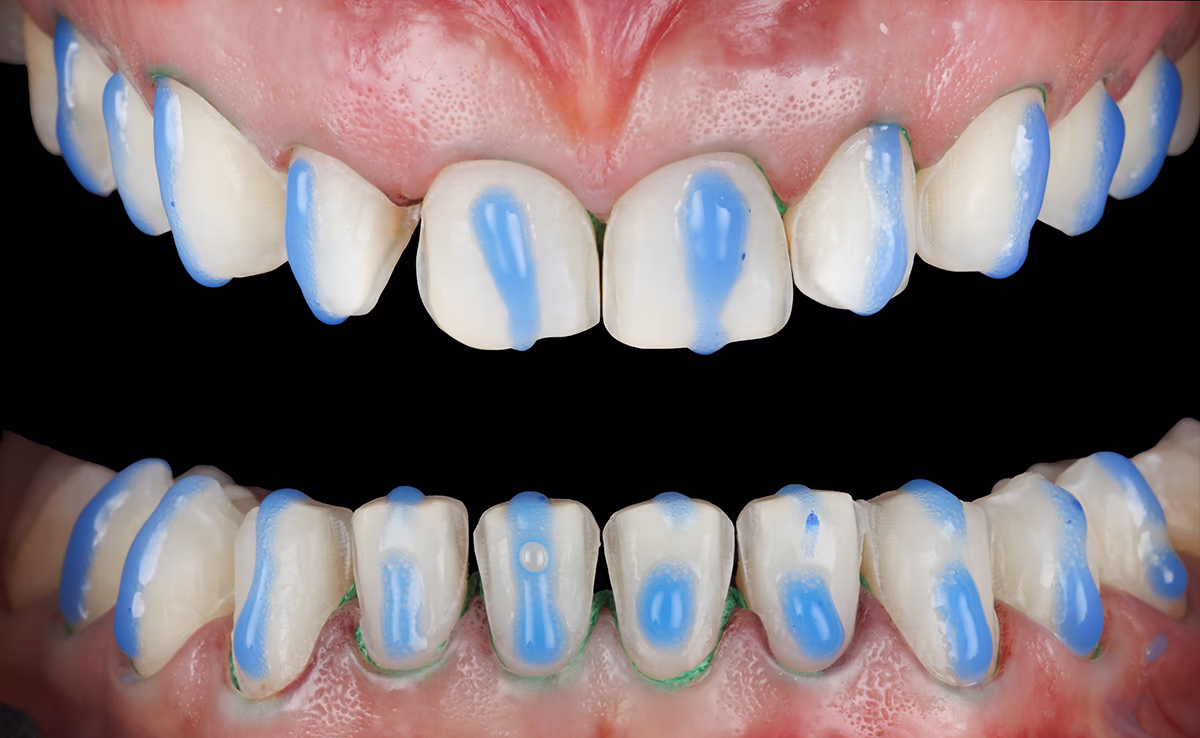
Using a marking bur (Komet 868B 314018), we performed facial marking of preparation depth, as well as incisal edge reduction. Incisal edge reduction of 1 mm allows the dental technician to create optical effects, as well as conceal the tooth-to-ceramic transition margin.

Next, we removed the Mock-Up – horizontal marks colored with a pencil remained on the teeth. Coloring the facial surface of the tooth with pencil enhances contrast between prepared and unprepared areas.

Horizontal grooves remain colored until the desired preparation depth is achieved.
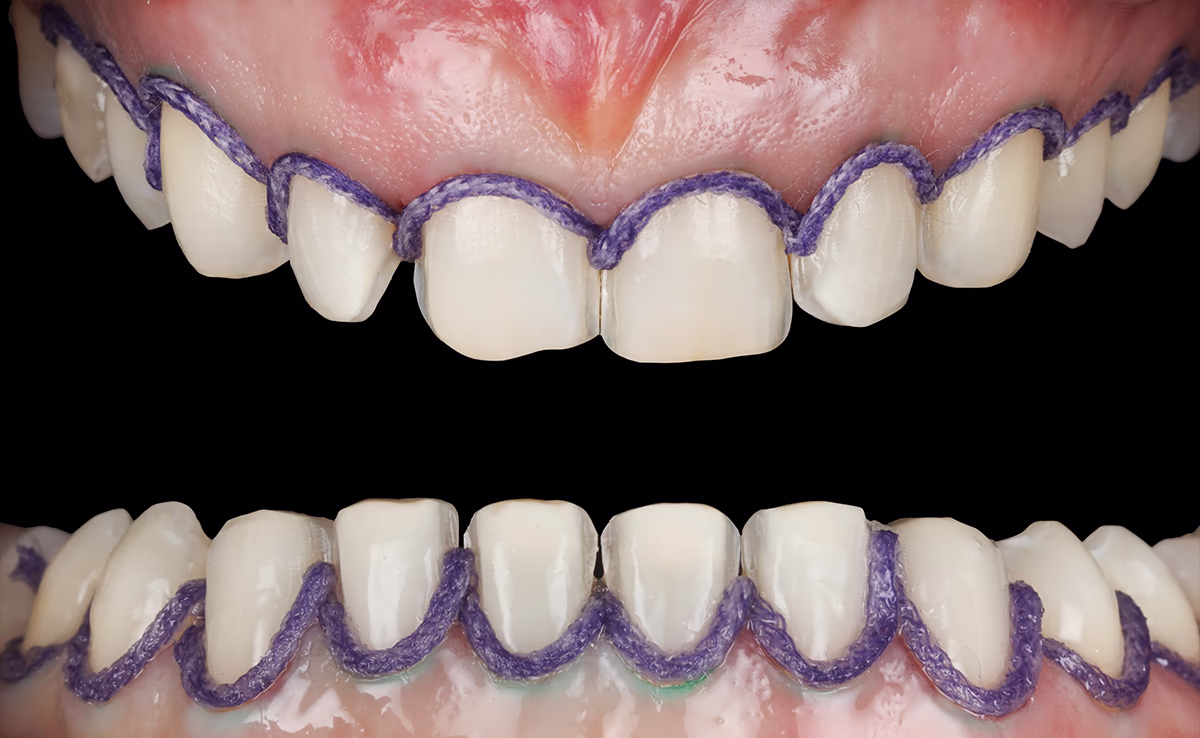
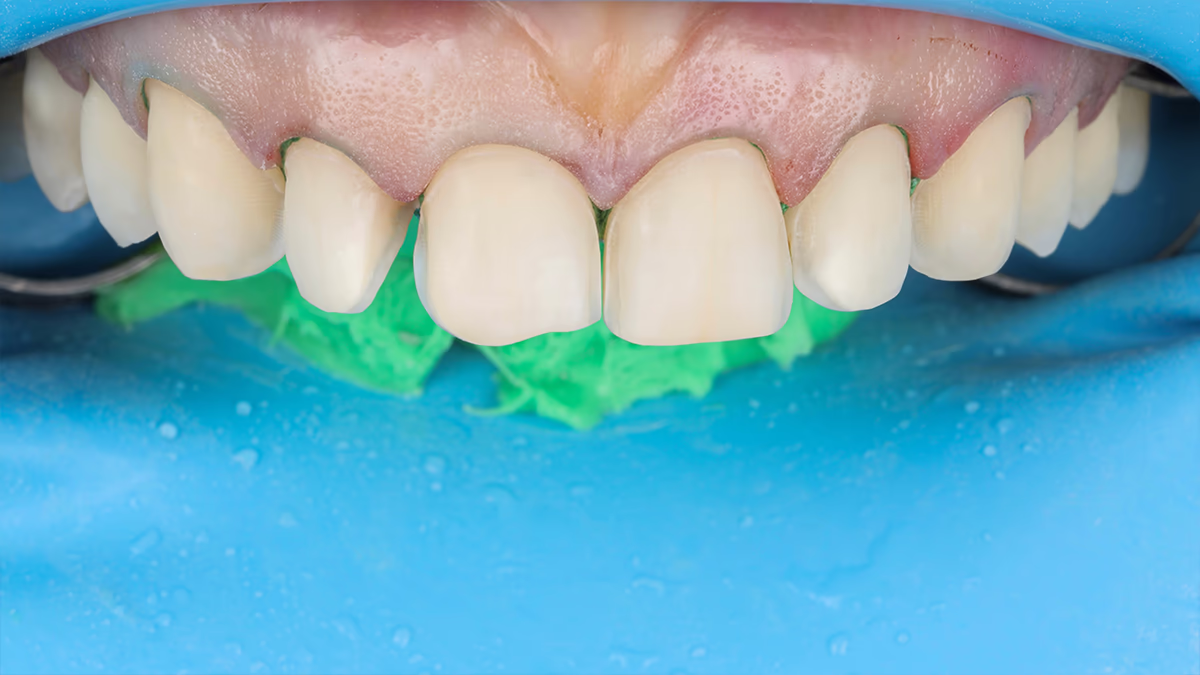
BL3 permanent restorations were planned, so preparation was performed with a 000 retraction cord (Sure Cord) in the gingival sulcus. This allowed more apical displacement of soft tissues and thereby avoided an abrupt brightness transition between the ceramic restoration and the tooth. Teeth were prepared within enamel limits as window veneers with incisal edge reduction.
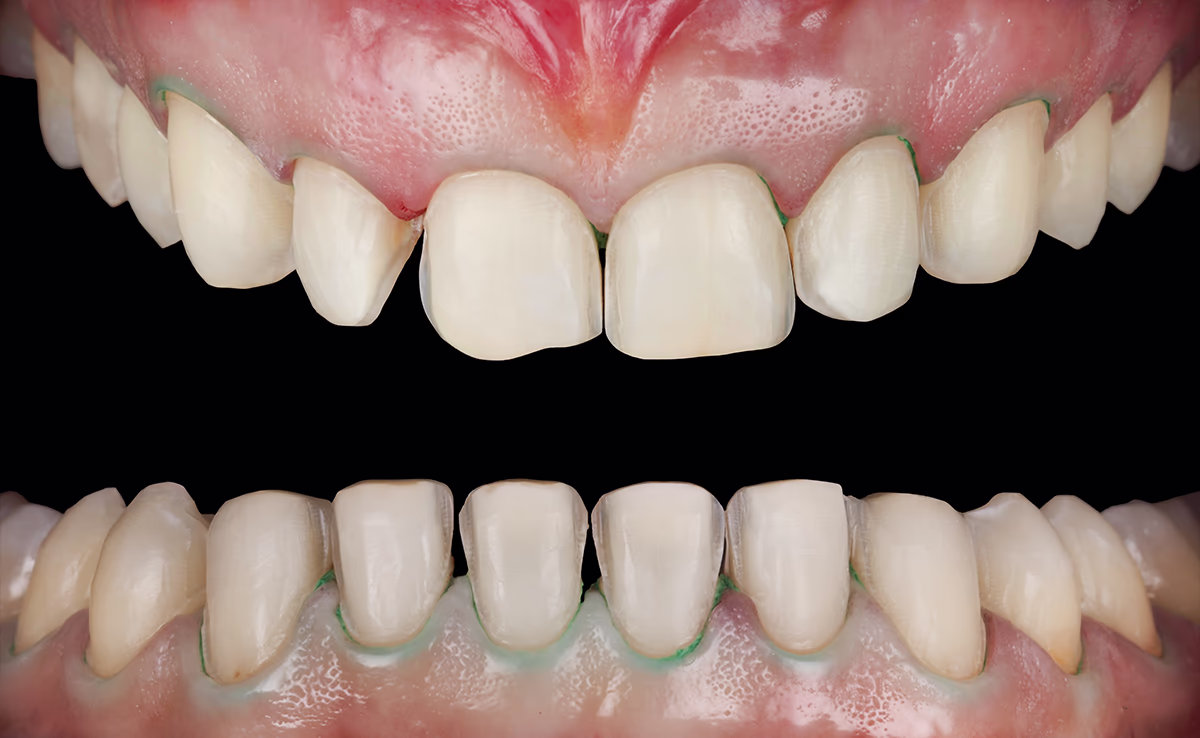
Before scanning, a second impregnated cord, Sure-Cord 0 was placed (5-minute exposure). This provided horizontal retraction and easy access to preparation margins during scanning.
The temporary restoration cementation method will always depend on the final preparation design.
When preserving contact points, it is impossible to achieve good interproximal retention.
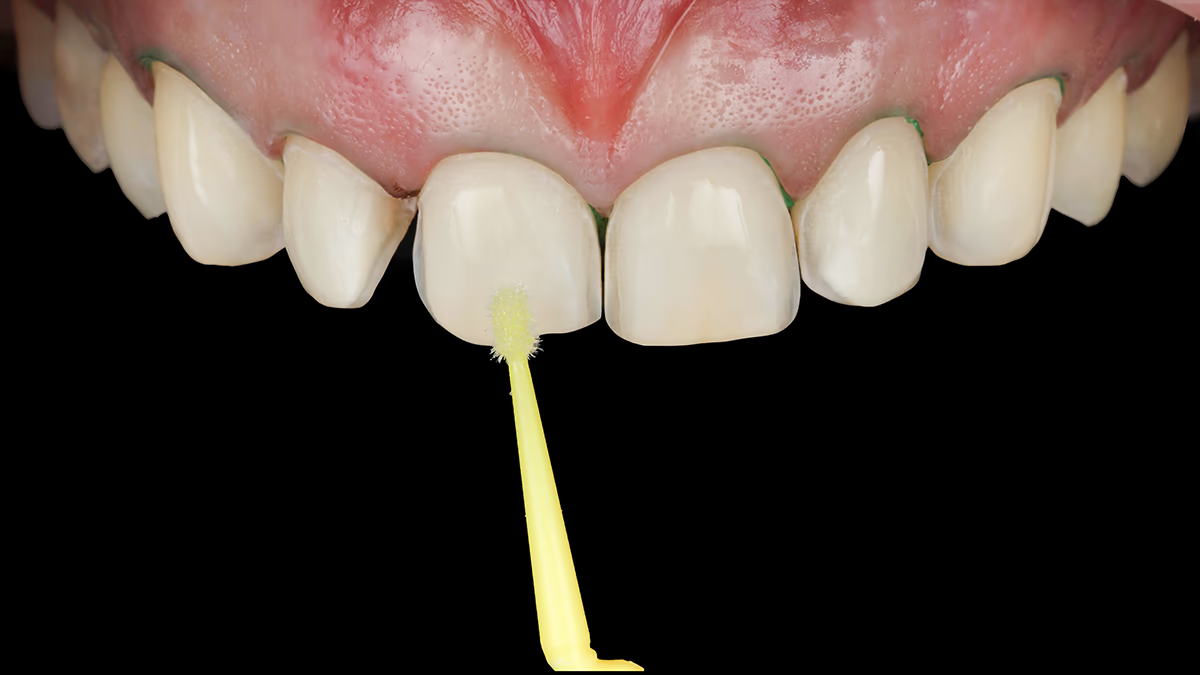
Before placing the silicone key with self-curing bis-acryl plastic, it is necessary to prepare the facial surface from of the prepared teeth.
We etched enamel for 15 seconds (2–3 mm) and applied adhesive (without air-thinning or polymerization), then transferred the mock-up of future teeth (Mock-Up), thereby making temporary restorations by direct method. Excess plastic was removed after 45–60 seconds, and we waited for complete material polymerization.
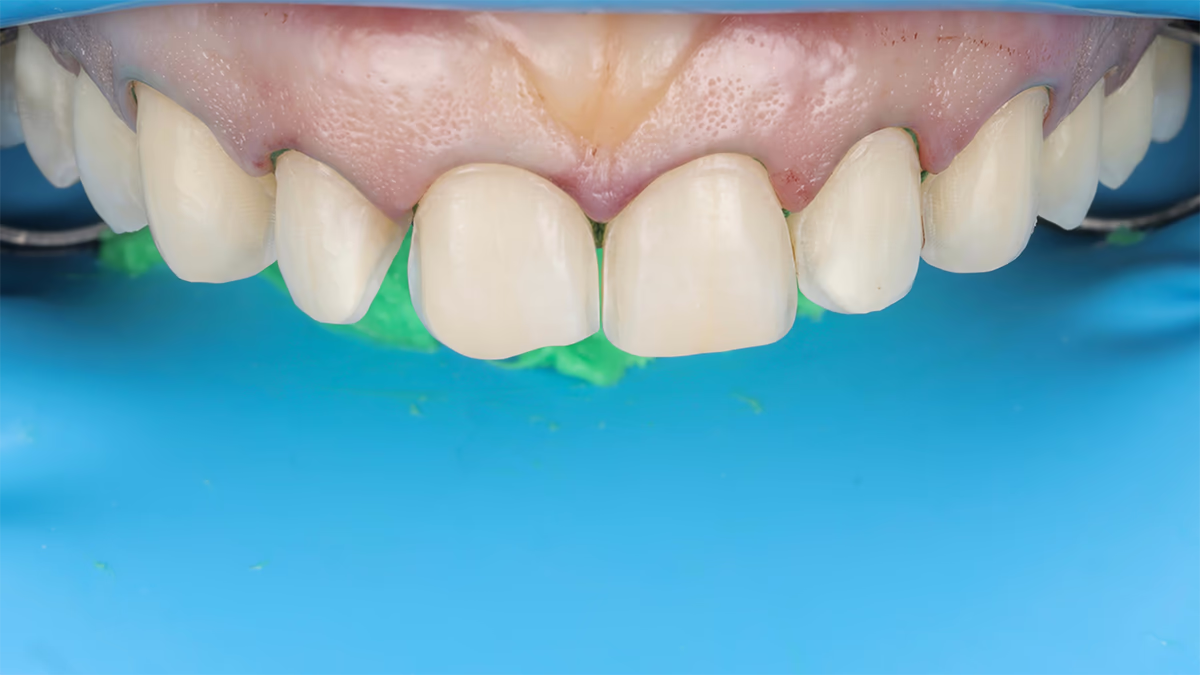
After removing the silicone template and correcting the gingival area with a scalpel, each tooth was light-cured for 20 seconds.


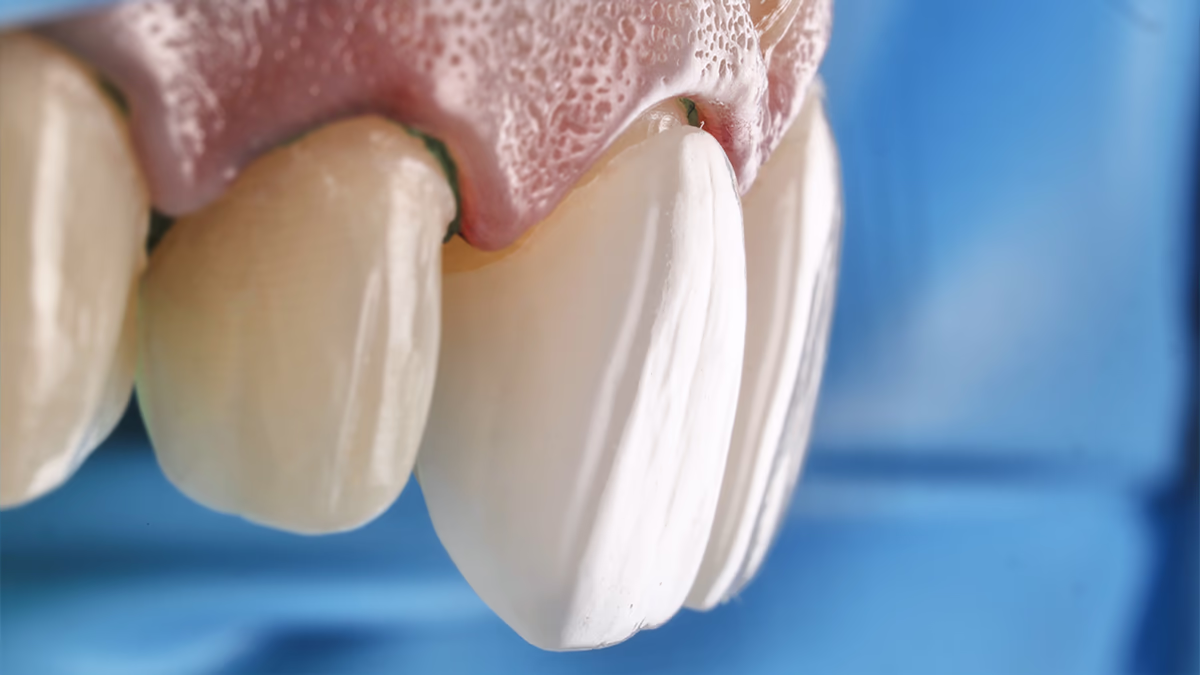
Final Visit – Ceramic Veneer Cementation. The first step was removing temporary constructions and polishing adhesive and bis-acryl residue using Enhance.
After ensuring accurate fit of ceramic constructions and obtaining patient consent, we proceeded with adhesive cementation.
Ceramic restoration cleaning was performed using the air-abrasion method – 27 μm aluminum oxide powder (Kavo Rondoflex). This is an effective method for surface cleaning after intraoral try-in.
Dynamic etching of veneers on refractor with 4.5% hydrofluoric acid for 60 seconds. Exposure for 30 seconds in 96% ethyl alcohol to clean the hydrofluoric acid residue.
Ceramic surface silanization to create internal bonding between restoration and luting material.
ClearFil SE Bond 2 (Kuraray) adhesive system was applied to the silanized ceramic surface, 20-second exposure, then excess was removed with air. Application of Variolink Esthetic LC luting composite.
To prevent composite cement hardening, restorations were placed in an orange light-protective box.
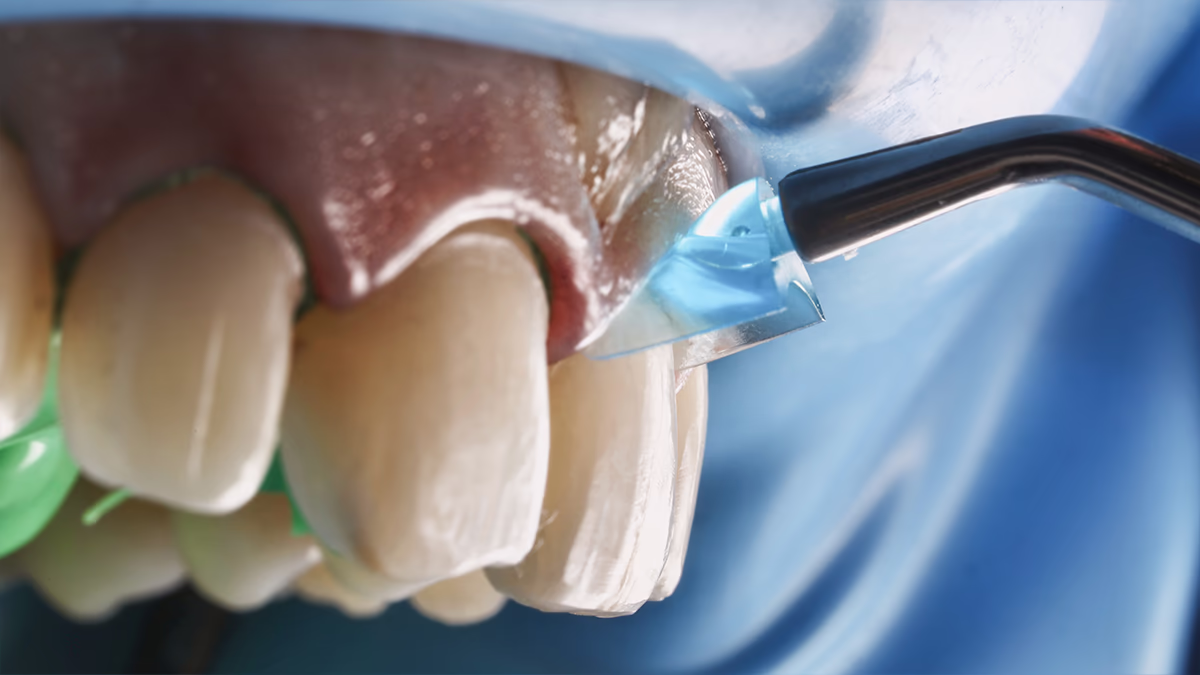
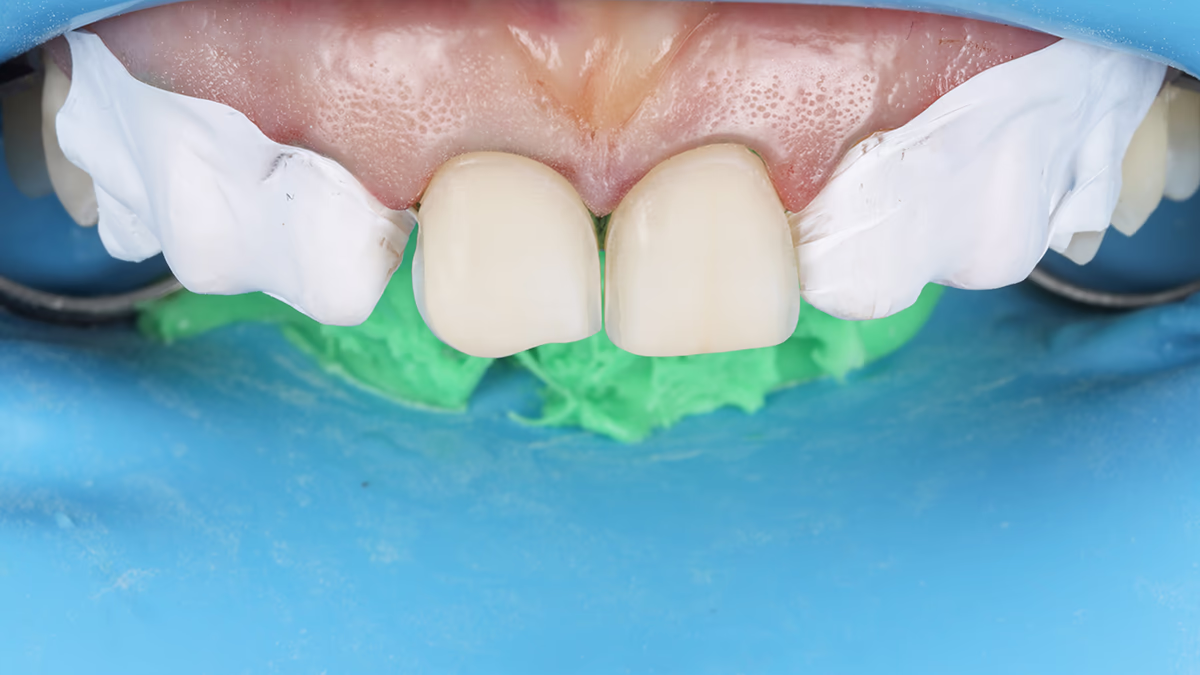
During ceramic restoration cementation, the operative field was isolated using the split dam technique.
After isolation, air-abrasion tooth preparation was performed with 27 μm aluminum oxide powder (Kavo Rondoflex). Surrounding soft tissues were protected with the LM Gingiva instrument.
Adjacent teeth were isolated with Teflon tape to avoid etching gel and adhesive system contact.
Dynamic enamel etching for 30 seconds. Adhesive preparation was performed using ClearFil SE Bond 2 (Kuraray) system. Spot polymerization of veneers on teeth was performed for 3 seconds, then excess material was removed with a brush, and in proximal contacts – with floss.
Final polymerization was performed using Air-Block to avoid staining of the tooth-ceramic margin.
Adhesive and luting cement residue was removed with a scalpel, and final polishing of the composite interface was performed using air-abrasion technique with glycine Prophyflex Perio Powder (Kavo).

Using a multidisciplinary approach (orthodontic treatment), we managed to establish a foundation for further successful prosthodontic treatment.
Occlusion correction ensures even distribution of masticatory load, which prevents tooth overload and extends the service life of prosthodontic constructions.

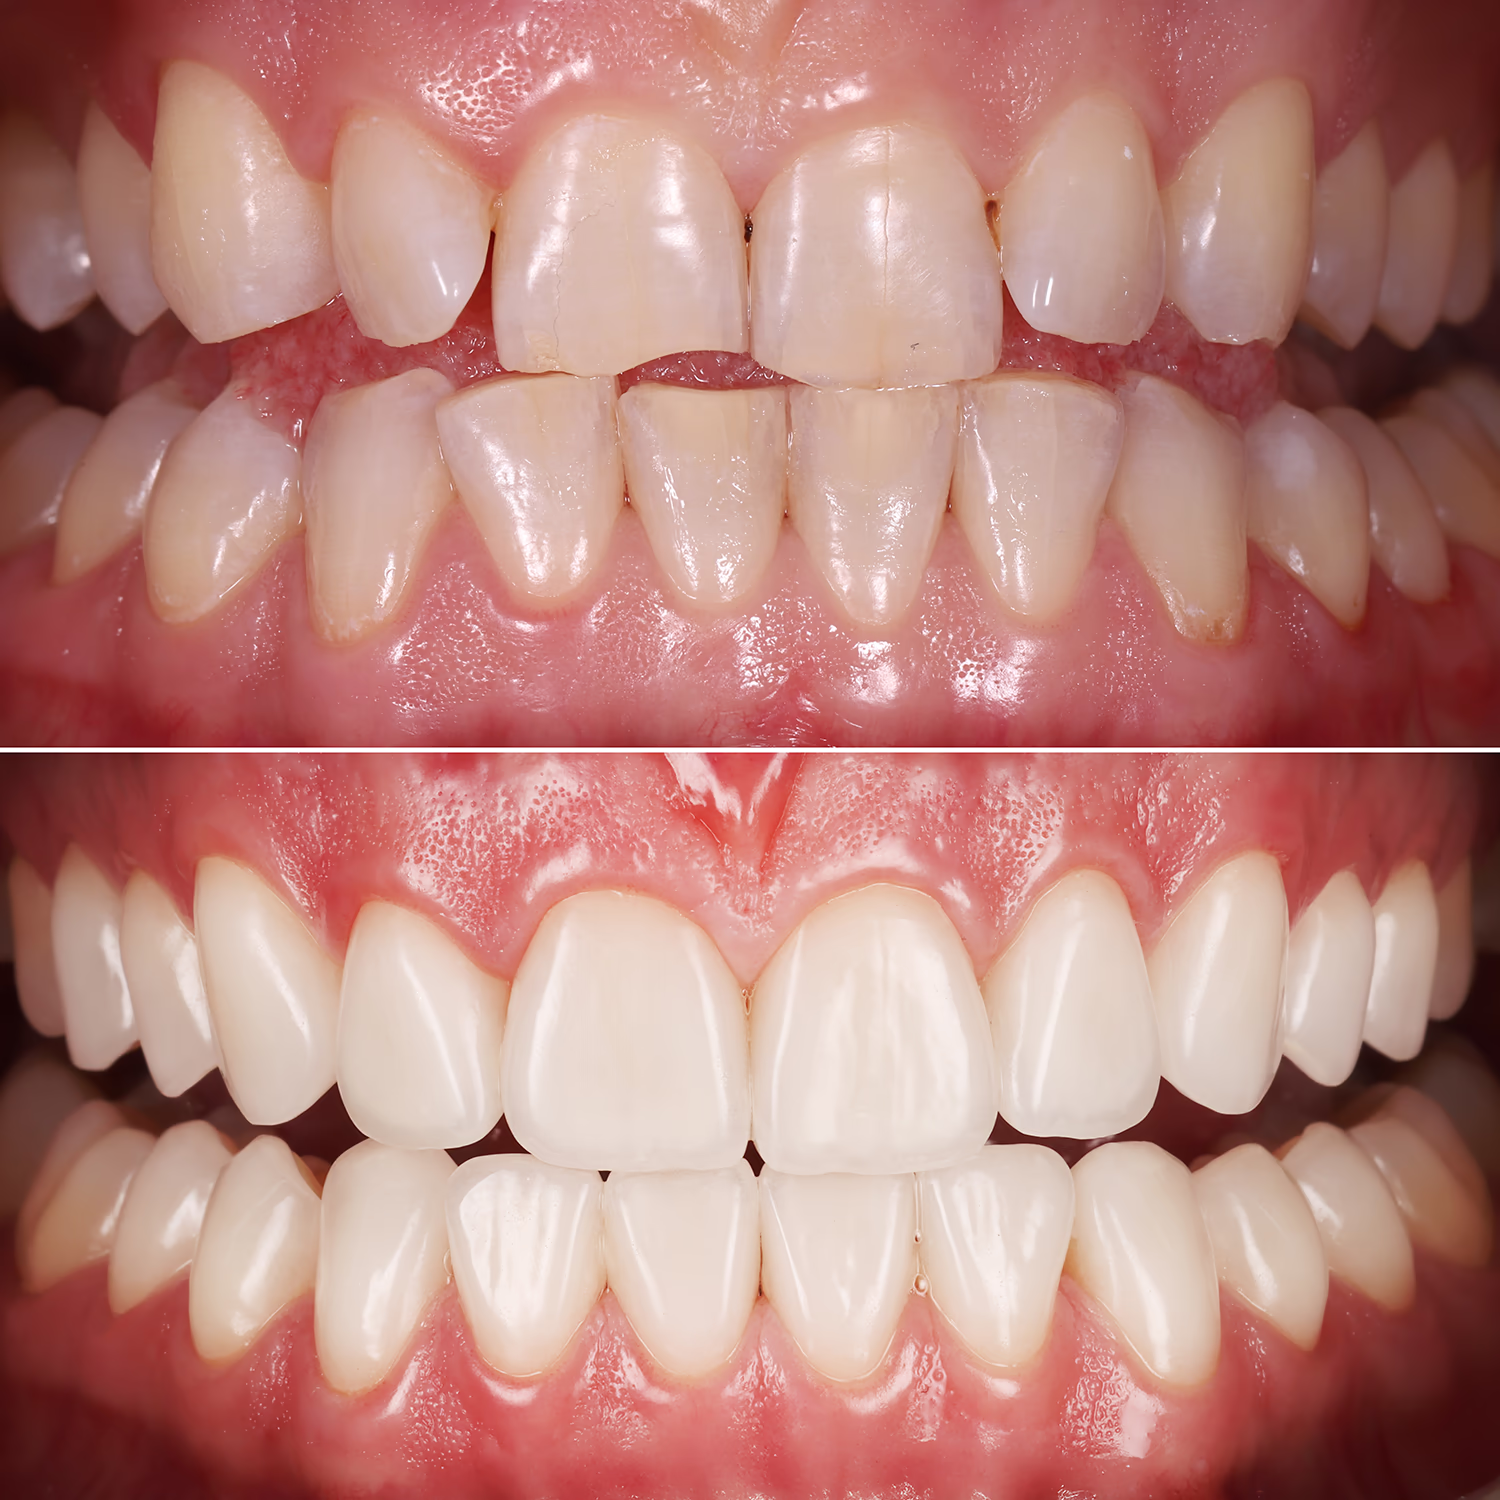

By improving functionality and creating correct tooth position, we avoid aggressive prosthodontic treatment (preparation) and achieve a natural appearance of future ceramic restorations.
In each clinical case, decisions should be carefully made involving relevant specialists to achieve the best possible treatment outcomes. Total rehabilitations require a multidisciplinary approach.
Participation of an orthodontist and other specialized professionals in the team is an essential condition for achieving functional, esthetic, and long-term results.
Orthodontic treatment not only eliminates structural and functional problems but also creates ideal conditions for further treatment (surgical, prosthodontic), ensuring smile harmony and patient health.